Thursday, November 25, 2010

Making My First Cloth Doll - Part 3

WOW making cloth dolls has been a HUGE learning experience! Today I completed my dolls hair and started working on her face and boy oh boy has it been interesting.

First thing I'd like to say is... WHY doesn't anyone have training on attaching hair to a dolls head??! I scoured the internet for HOURS looking for a way to attach hair to a doll without using a sewing machine. It took some time, but I found a short blog post with very little pictures to follow to walk me through it. (No worries - I'm making a video that shows how to do this. Once I get it complete I'll link to it here).

Ok so, I'll break how I made this cloth doll up into two sections - first how I did the hair, and then how I'm planning to the face.

Making Cloth Doll Hair
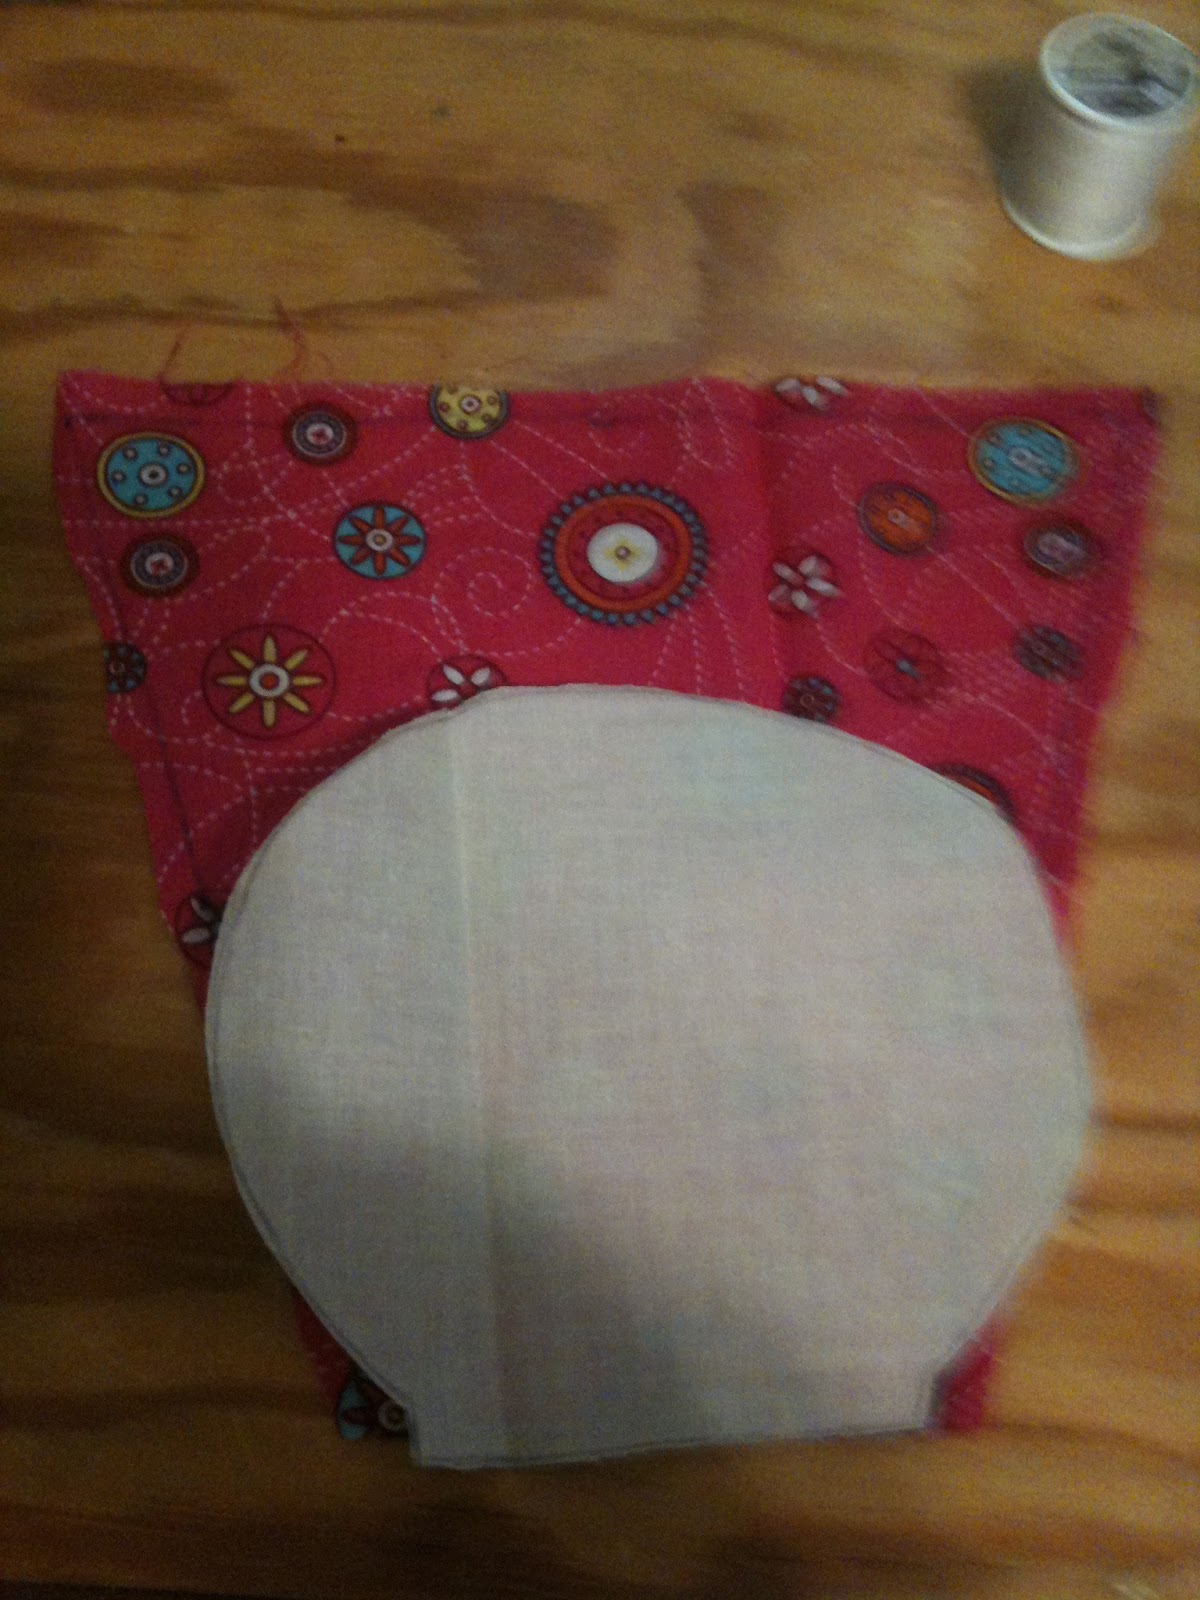
1. In this first step I decided I would keep the hair style very simple especially since this was my first making cloth doll experience. I layed yarn across the top of the head and held it in the middle where the hair part would be. I then pulled the yarn until it was at a length I liked. NOTE: when I cut the yarn to sew onto the head I cut it about 1/2 and inch longer than I planned just incase I needed to trim at the end.

2. Now that I have the length of the hair I wanted I cut about 20 strand of yarn. The yarn I purchased for this project was a thick yarn with multiple strands twisted. After cutting the yarn into strips I pulled each strand apart - in one of the doll making tutorials I found online they said you could get curly hair this way - it worked perfectly. The yarn pulled apart easily and gave my doll wavy hair (similar to the little girl I'm making it for).

3. The next step was to figure out how to get the hair on the dolls head. After scouring the doll making websites for hours I found a way of individually sewing the yarn onto the dolls head right down the center of the head. You could do this off to the side if you want a side part. I was planning on pigtails so I kept the part down the middle for the entire head.

4. The following steps get so complicated but I've tried to make it simple.
push in 4 pins down the middle of the head where you want the hair line to start making a straight line back. Now wrap a string of yarn around the first pin so that the ends lay to the side of the doll equally. Now pull your thread through so that it comes up the midle of the yarn where there pin is. Now wrap around the yarn and go back into the head at the hair line. You pretty much just made a loop around the hair coming out of the dolls head and back in.

I did this repeatedly for about 50 strands of yarn. Your first 10 will be the most time consuming and then you just get into a grove of sewing the hair down the hair line - after a while you wont need the pins to wrap the yarn around, you can just hold it in place (which makes it easier).

Like I said - it's extremely hard to put the details here - so I'll try and get some pictures up in the next week or so as I work on making my second cloth doll..

Making Cloth Doll Faces

The face is such an important part of the doll - the rest has just been following a pattern and a set of instructions, but when it came to the face I had a hard time finding the one that had a personality that fit the design of the doll. So here's the steps I took... for my first cloth doll face - I think she's turning out GREAT!


Of course I first turned to the internet to see what I could find in the way of printable doll faces, but didn't turn up much. Most of it needs to be ordered and I am just too impatient for that. So I landed on a site that had faces and I used my computer screen as a light box. I traced a couple of the eyes and a couple mouths onto a sheet of printer paper.

Then I played around with colored pencils trying to get an idea of what would look good on the doll. The next step in making cloth doll faces was to try them out on the doll. So I cut the paper and placed the design on the doll where it would eventually get painted on. Here are a few pictures I took of the decision making process:

Making Cloth Doll Faces Process:


First draw out some different faces. 


Then cut out the faces and try them out on the doll.

This one was my favorite so I added some color to see a little more of what she will look liked with a painted face. The final step is to draw on the doll.


I just used a regular #2 pencil to draw directly on the cloth doll.. I drew lightly so that I could erase any errors and fix any off balance. Finally, (after running back to the craft store for some paint brushes) I painted the face onto the doll.

Picture of the completed doll to come!

This making cloth dolls experience has been really fun and inspired a LOT more dolls to come. Next up on my list is to make some cloth baby dolls for my sis-in-law that's due next month. Look for those posts to come - I'm starting next Monday.

Thursday, November 18, 2010

Making My First Cloth Doll - Part 2

Last week I started making cloth dolls for the first time in AGES... I printed out the free cloth doll pattern I found online and followed the pretty simple instructions - you can get that free doll pattern here.

This week I worked on the doll a little more and got the legs and arms attached to the body, and then stuffed the body and closed up the head. Here's the steps I took, though I'm not sure I got pictures of every step.

Making Cloth Dolls - Attaching Arms & Legs
1. Lay the head/body piece on the table right side up


2. Next, pin the arms and legs in place on the side and bottom of the body piece. Sorry, I didn't get a picture at this step, but when I start on the second doll I'll try to update this post with it.

3. Sew the arms and legs onto the front side (or right side) of the body piece.

4. Pin the arms and legs together in the center of the body once they are attached to the body piece #1.

5. Now, lay the second bodyhead piece on top of the arms and legs with the wrong side up. This was my first making cloth doll experience so it sounded odd to me that I would lay the right side of the fabric face down and until I understood how it would come out in the end. So for now, picture a sandwich...

The bottom layer is the first, body piece with legs and arms attached, the middle layer holds the arms and legs, and not the top layer is your second body piece laying right side down (so the doll looks inside out.

6. Pin together the bottom body piece and the top body piece and sew the two pieces together. I started at the side of the head  and worked down the head to the neck and then around the body. After sewing all the way around the body I sewed up to the other side of the head leaving a gap of about 2-3 inches at the top of the head.

7. Now pull the arms and legs through the whole at the top of the head. I had to do this in stages. I first un-pinned the arms and legs and then pulled the arms through and then the legs followed easily. They wouldn't both pull through  at the same time, so pulling the arms through first and then the legs was easier.

Now you should have a doll with stuffed arms and legs and an empty body.

8. The next step in making cloth dolls is to stuff the doll using the poly/fil that I stuffed the arms and legs with. This took a large amount of stuffing, but was quick and easy. I stuffed the body until I got to the head and then stuffed the head. Once the head was stuffed I pinned the crown of the head and sewed it shut using a whipstitch.

This part is going to be covered by hair so I didn't stress too much on making it a perfect stitch - only that it was strong enough to withstand a little girl playing with it.

That was enough work in one sitting... so I took a break and started researching how to attach hair to the doll and how to make doll faces. Check that out in my next Making Cloth Dolls post.


Some Quick Tips I've learned so far:
  • I used a blanket stitch for the entire doll, but after turning it right side out and stuffing the doll you could see the stitched. They were large and didn't look that strong. On my next go at making cloth dolls I'm going to use the backstitch - it is easy, but also gives a stronger stitch so the doll will be much stronger for kid play.
  • Youtube is your best friend :) Any time I got stuck on stitching I went to Youtube and found a video that walked me through the stitch and how to finish it up (like the whipstitch at the top of the head. Or stiching around a corner etc. 
  • Be careful stuffing the body parts of the doll - pushing too hard can pop your hem line and then you have a hole. I did this once and had to look up another stitch on how to fix this.. wasn't easy, so just be cautious.

Happy Doll Making!
Chaunna

Thursday, November 11, 2010

Getting Started With My First Doll Pattern

I really loved the felt doll pattern that I posted last week and thought that would be my first attempt at making a doll. However, I ran across this simple free doll pattern that seemed a little more fitting for my first go at making a baby doll.

It's a cotton doll - not a felt one, and it's MUCH larger than the felt doll pattern, but I liked the little girl doll pattern and thought it would be perfect for my niece for christmas. I would also get a chance to test out my sewing skills along the way.

So, to start my first doll I made my first trip to Walmart. Here's what I bought:

1. Polyfil -stuffing for the doll - only $2.97
 

2. Cotton Fabric (even though the pattern suggest I start with a thicker material I really liked the pattern selection they had in cotton so I went with it. 

I picked up six - 18"x21" cotton fabrics - see pictures below. ONLY $1 each
    1. a pink pattern
    2. a purple pattern
    3. a yellow fabric
    4. a purple fabric
    5. and two skin color fabrics for the face and arms.

3. I also picked up a small sewing starter kit. To be honest I had no clue what I needed for thread or needle sizes, so I figured a starter kit would get me going and I could buy other pieces as I needed them for other dolls. The starter kit costs - just under $8


4. Thick brown yarn for the hair - $3

Altogether for this doll I spent $20 and prayed I purchased everything I needed to accomplish my very first doll :)

When I got home I printed out the free doll pattern (page 1 & page 2) that I found over at MakeBabyStuff.com. I then traced it onto the fabric. Once my son saw me starting the doll he was hooked :) He wanted to make a doll for his new baby sister (due in March). This was awesome! Now I have a partner to learn along with me.

Here's our progress so far:

1. Traced the pattern onto the fabric.

2. Cut out the pattern

Pattern pieces after cut out...

Finally - we sewed the head onto the body/dress of the doll.

Side Note: I may not have mentioned this before, but I have never sewed before in my life.. so I needed a quick tutorial to get me started. Here are the two sites that have helped me most...
  • Learning to tie a knot at the end of your thread - special thanks to Heather Bailey and her picture tutorial here
  • Also learned to blanket stitch from this very basic, but very easy to follow Youtube Video
I'll update our progress once we get moving on the next steps.

Wednesday, November 3, 2010

Cutie Kids - Felt Doll Making


I'm really enjoying all the patterns available online for different free doll patterns. Today, while searching for something simple that I can make for my niece I came across these cute little kids.

This free felt doll making pattern was perfect for my first attempt mostly because I didn't need a sewing machine... and the pattern seemed simple and easy enough to follow.

Here's some of the really cool "Pro's" of these felt doll making patterns:
  1. Each doll is 6 inches tall. They are not too big, but not so small that they are too hard to handle putting clothes on and off the doll. Ever tried putting clothes on barbie? or one of those tiny polly pocket dolls? They are always a hassle so I'm thinking these dolls are a great size.

  2. I also really liked that the creator gives you free felt doll clothing patterns too. Not only does he give you the little girl and boy clothes, he also links to a couple other patterns that include a Kimono. The clothes are cute, but also simple. Another bonus here is that the backs are open which make them easier to take on and off the doll.

  3. Hair seems to be one of the hardest parts of the other cloth doll patterns I've looked at, but the creator of these felt doll patterns makes the hair separate from the doll so it's interchangeable! Plus his patterns are very simple.

The only "Con" I can come up with for this felt doll making pattern is that there isn't much instruction for the face. I'm a little nervous to hand stitch the mouth with the embroidery thread. I think if the mouth is the only difficult obstacle I'll be able to tackle it and make some pretty awesome felt dolls.


Materials Needed:
  • Skin Color Felt Material
  • Various Color Felt for clothing patterns
  • Polyester fiberfill
  • Small Beads for the eyes
  • Embroidery Thread for the mouth
  • Needle & Thread for sewing the edges

Links To The Creator & Patterns:

Pictures of the Felt Doll Making Process:


Pictures of completed felt doll patterns:

Tuesday, November 2, 2010

Let's Get This Party Started!

I've been creative and crafty my entire life thanks to my mom and grandmother. I can remember spending a week during the summer at my grandmothers house (I call her Mimi).   Every summer she would pick a new craft for us to work on while I was there...there is nothing better than the time we used to spend together.

My goal for this site is to share my cloth dolls and patterns here as I get more and more into making dolls. I made one when I was 10 during a summer trip to my grandma's and have been dying to make another for my two nieces.

When I decided I'd do it for Christmas this year I was completely overwhelmed by all that went into doll making. I just didn't remember EVERYTHING that goes along with makign a doll from so long ago. After some research I narrowed my options down to a few patterns, but I noticed in my research that EVERYONE is looking for more patterns! Old ones, out of print ones, popular doll patterns etc... so as I researched I collected and I'll be sharing the new patterns I come across here.

If you are a doll maker/ hobbyist and have patterns you want to share feel free to email me and I'll add them to the blog (with a link back to your site or store if you wish) - contact info is in the profile.

Keep on Crafting!
Chaunna